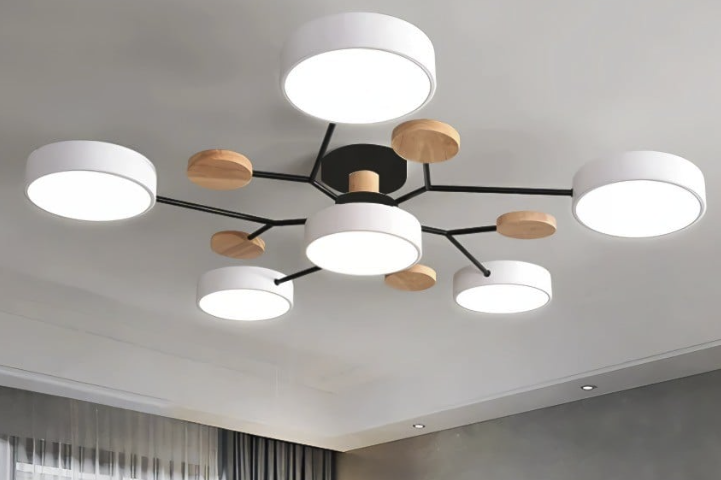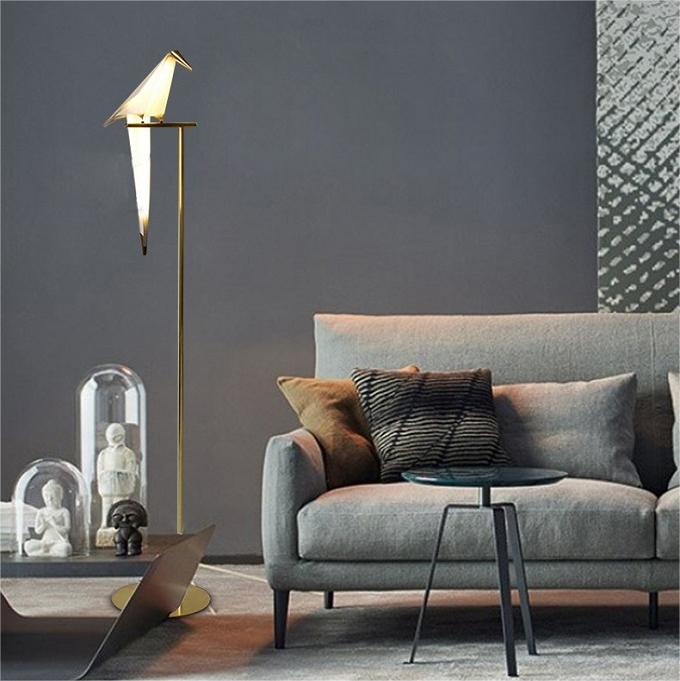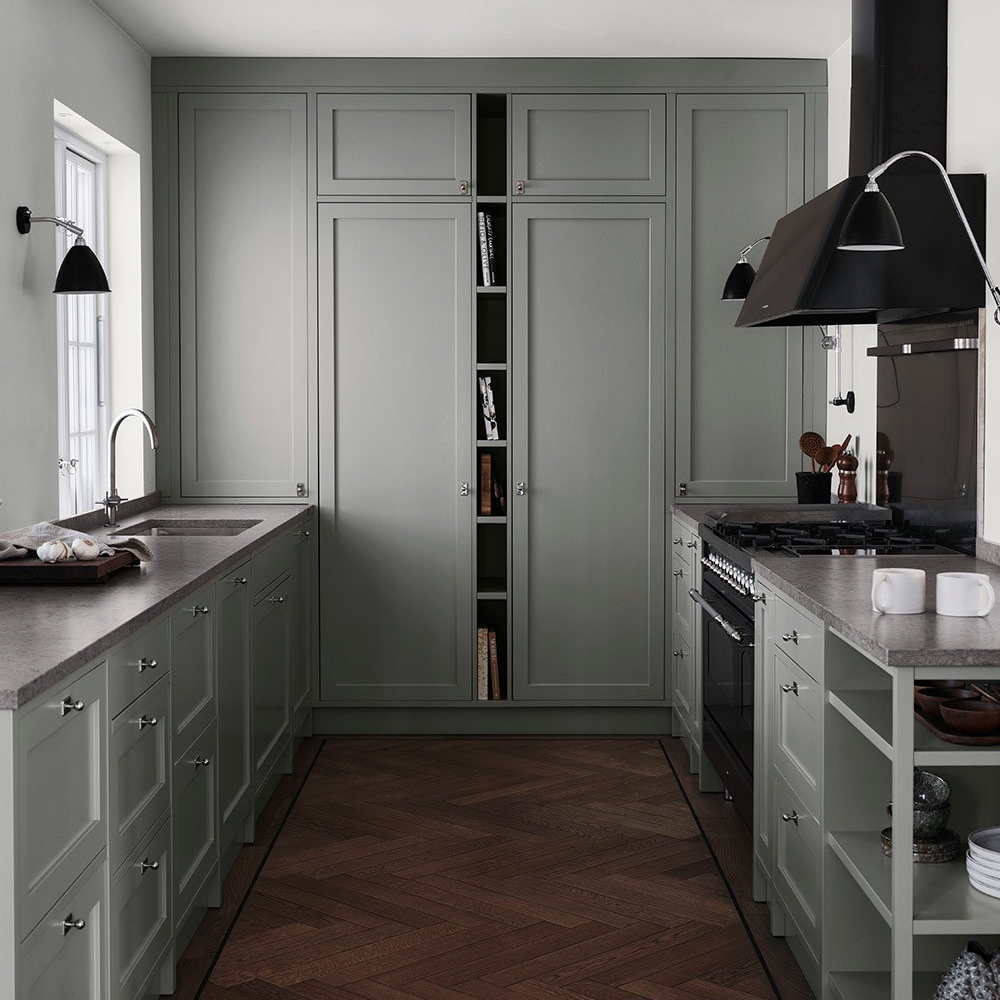

Lighting plays an essential role in creating a cozy and comfortable atmosphere in our living spaces. One of the easiest ways to enhance the lighting in your home is by installing wall lights. IKEA pull switch wall lights are a popular choice among homeowners due to their affordability and versatility. In this article, we will discuss how you can brighten up your space with IKEA pull switch wall lights.
Step 1: Determine Your Lighting Needs
The first step in upgrading your lighting with IKEA pull switch wall lights is to determine your lighting needs. Ask yourself the following questions:
- What is the purpose of the room or space?
- What activities will be carried out in the room?
- What kind of atmosphere do you want to create?
Once you have answered these questions, you can determine the number of wall lights Hozolighting you need and the locations for installation.
Step 2: Choose the Right Wall Lights
IKEA pull switch wall lights come in a variety of styles, sizes, and colors. You’ll need to choose the right wall lights that match the decor of your space and meet your lighting requirements. When selecting your wall lights, consider the following:
- The height of your walls and ceiling
- The amount of natural light in the space
- Your color scheme and the overall design of the room
- The bulb wattage needed to create the desired level of illumination
Once you’ve selected the right wall lights, you can move on to installation.
Step 3: Installation
Before starting the installation process, ensure that you have the necessary tools and equipment. You’ll need a drill, screws, a pencil, and a level ruler. Follow these steps to install your IKEA pull switch wall lights:
- Choose the location for the wall light and mark it with a pencil.
- Drill holes into the marked spots for the screws.
- Insert screws into the holes and ensure they are firmly in place.
- Attach the mounting bracket to the screws.
- Connect the wires from the wall light to the wires in the junction box and secure the wire connectors.
- Attach the wall light to the mounting bracket.
- Test the pull switch to make sure the wall light turns on and off.
Step 4: Maintenance and Care
To ensure your IKEA pull switch wall lights remain in good working condition, it’s essential to clean them regularly. Use a soft, dry cloth to wipe down the lights and remove any dust or debris. Avoid using water or harsh chemicals that could damage the light’s finish.
Wall lights are an effective way to enhance the lighting in your home and create a warm and inviting atmosphere. IKEA pull switch wall lights are a popular and affordable option that comes in a variety of styles to suit your decor and lighting needs. Follow these simple steps to upgrade your home’s lighting with IKEA pull switch wall lights and enjoy a cozy and comfortable living space.